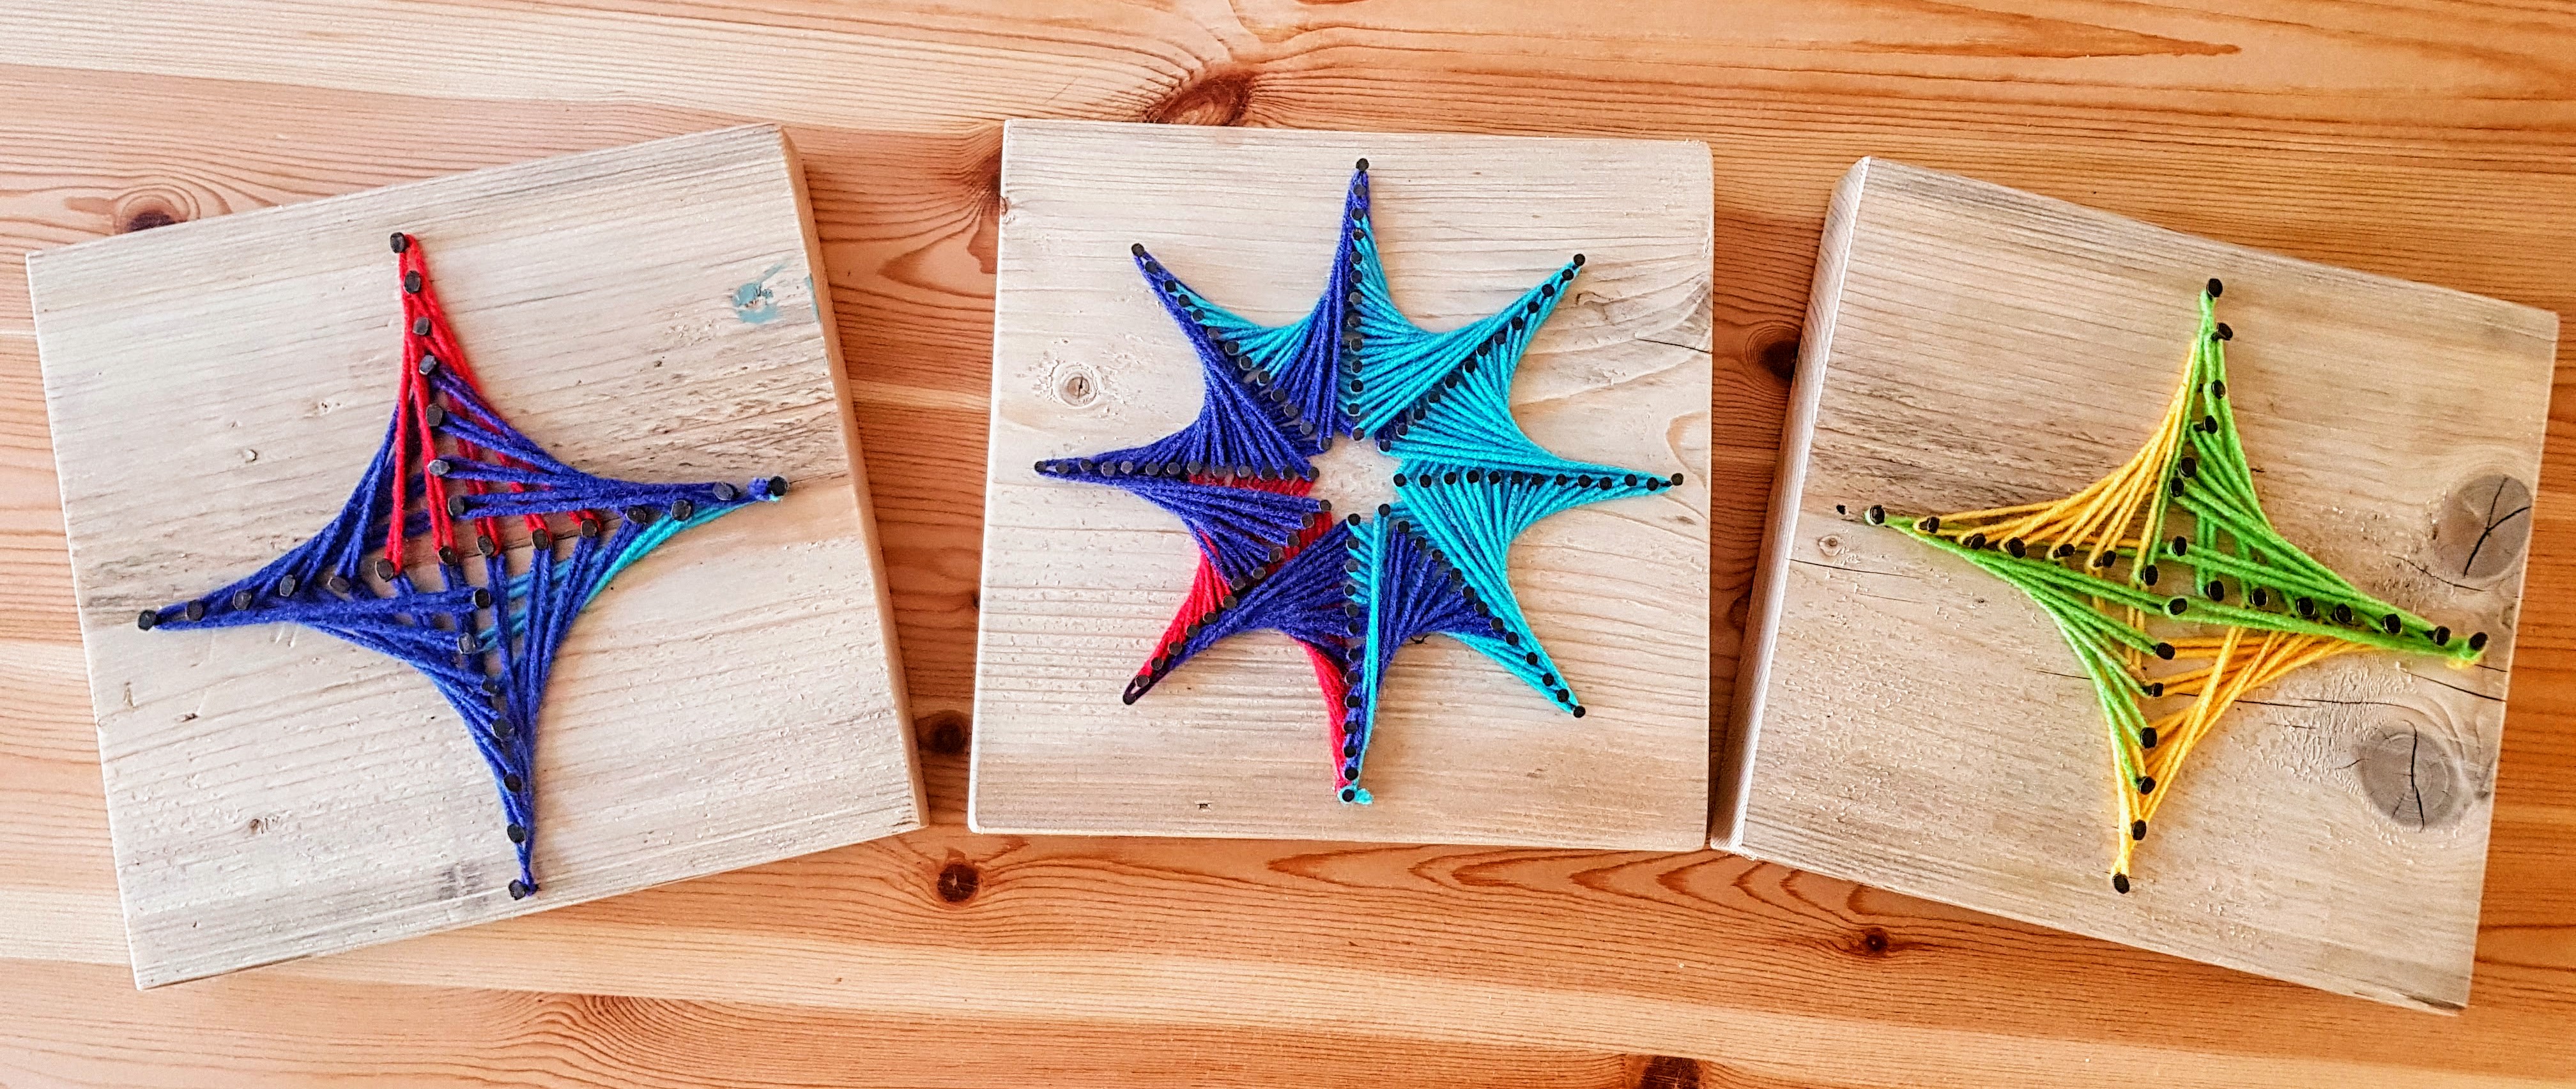
February has gifted us a really sunny couple of weeks over here in the UK but, unfortunately, one of my scientists has had a fall and sprained his ankle, so we have been stuck inside for the last couple of days!
He has been in a fair bit of pain so we set about doing a project that he could complete while resting up on the couch. 🙂
For a while now I have been wanting to look into PARABOLIC CURVES and combine some math with art. I did my usual snooping around the internet and found this fantastic blog.
First of all we printed off the FREEBIE templates and used coloured pencils and markers to create our art…
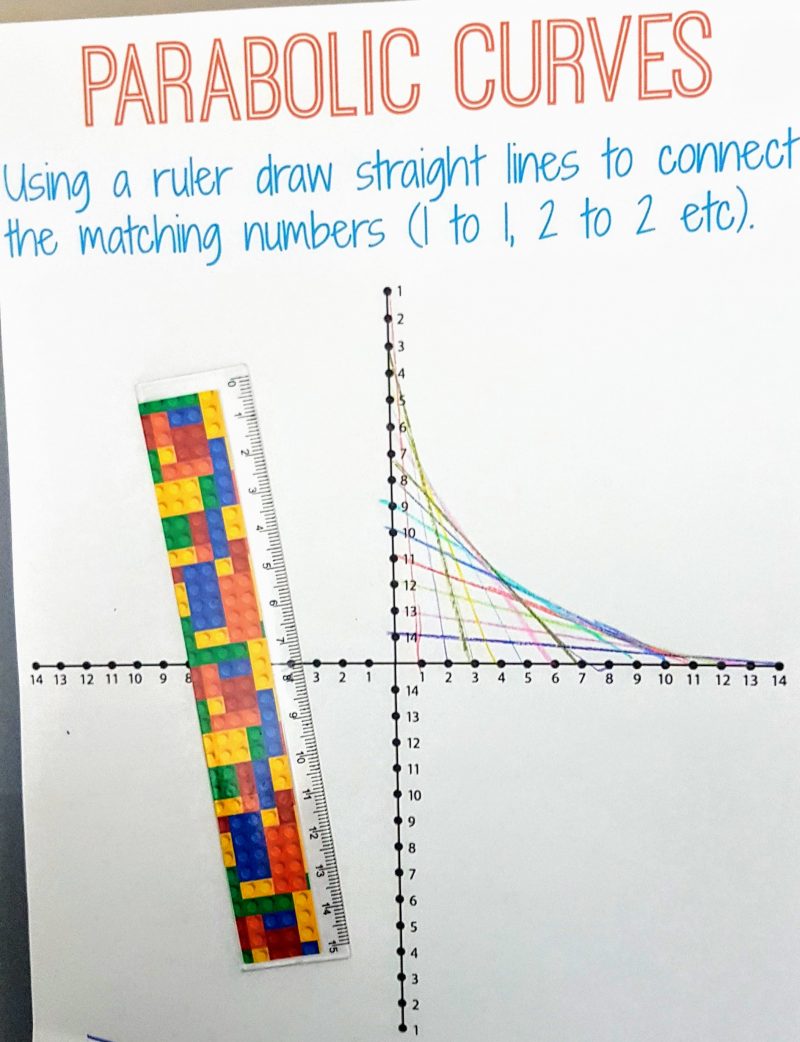
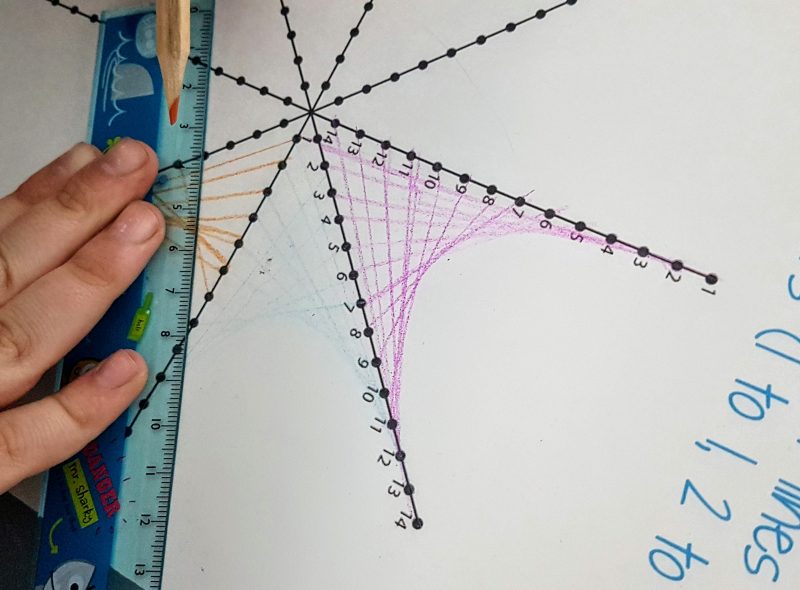
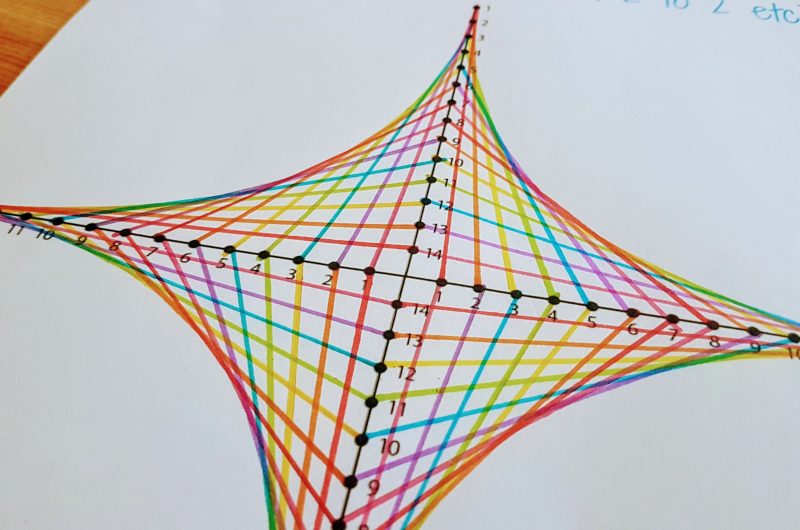
The boys were interested in how the curve was formed, but both my scientists prefer projects where they can use their hands more so I printed off extra templates and we got started on our main project.
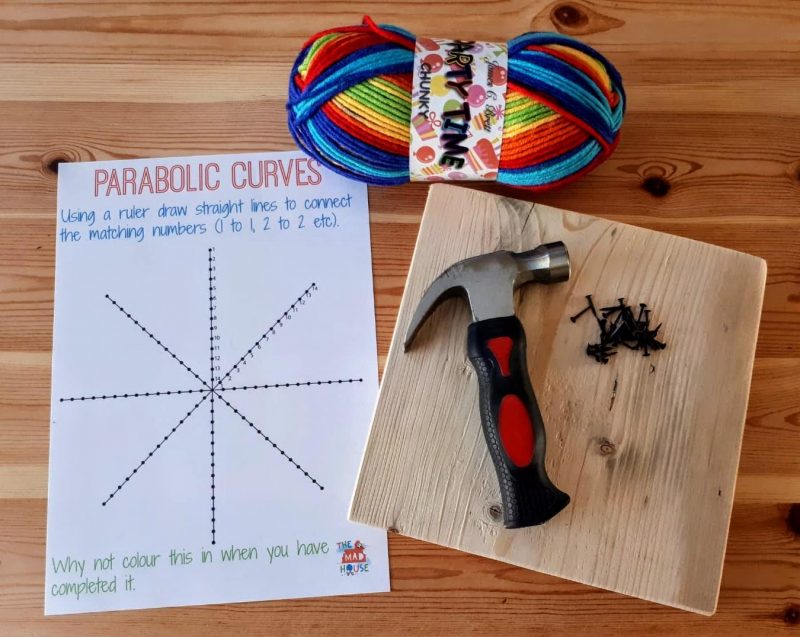
Below is a list of things you will need…
- FREE templates
- Piece of scrap wood
- String or yarn (if you like ours you can purchase it here)
- Stubby hammer, (we find they are more comfortable to hold for little hands)
- Carpet tacks* or nails*
- Long nose pliers* (we realised we needed these after a couple of knocks on the thumb)
- Scissors
As per my other posts, I will post pictures to show how we did this project.
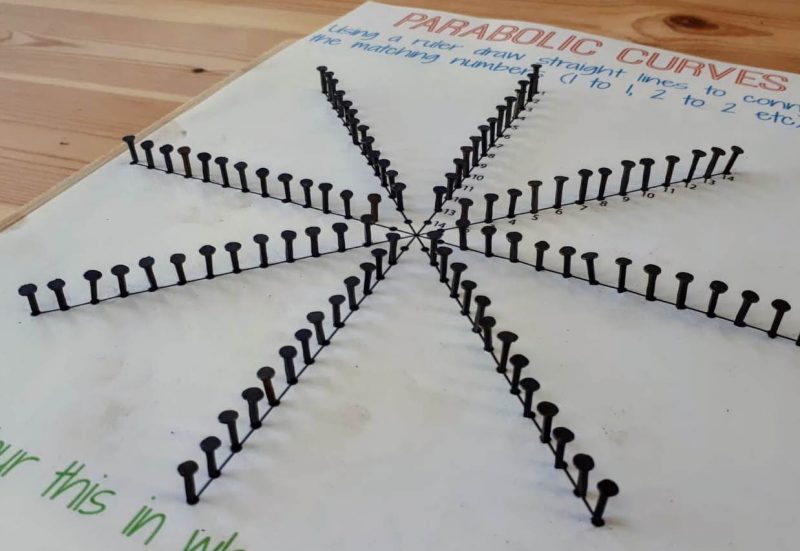
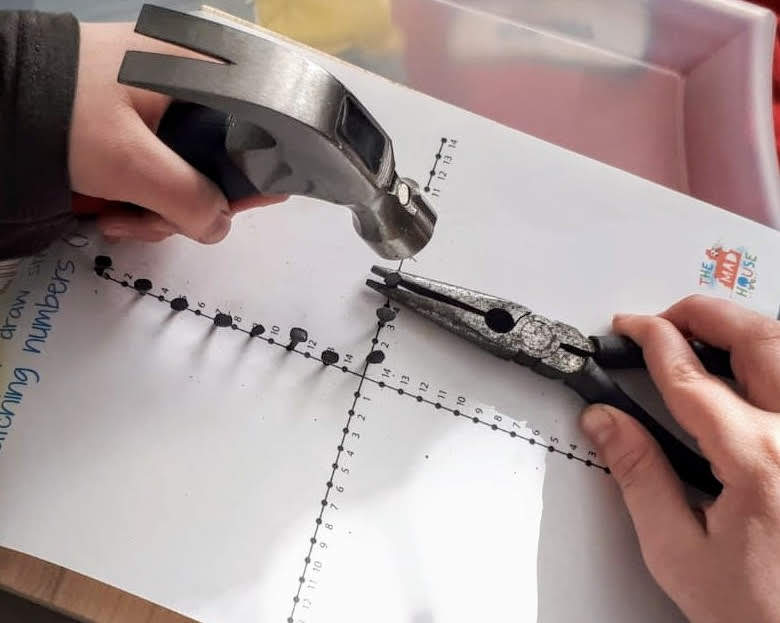
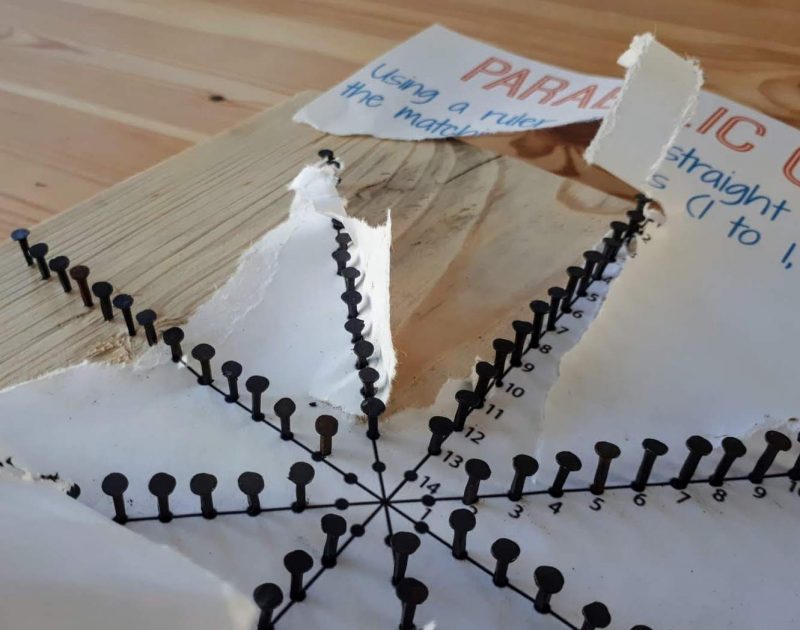
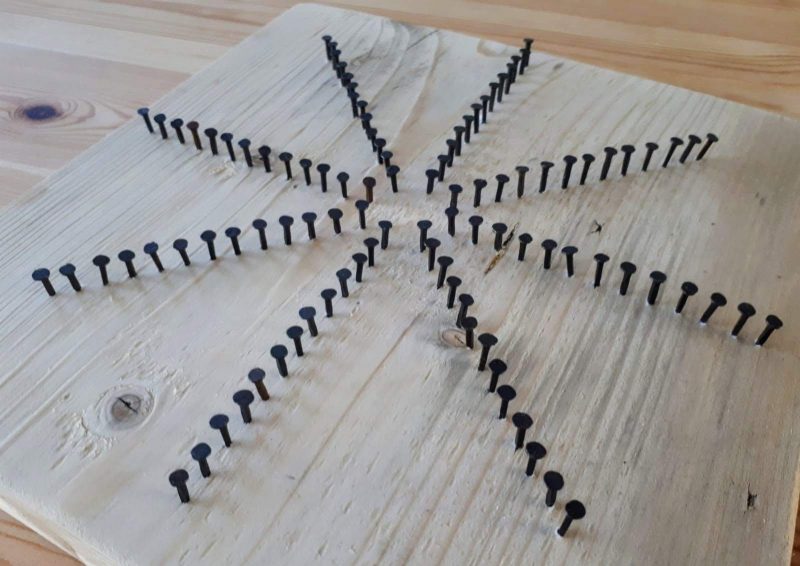
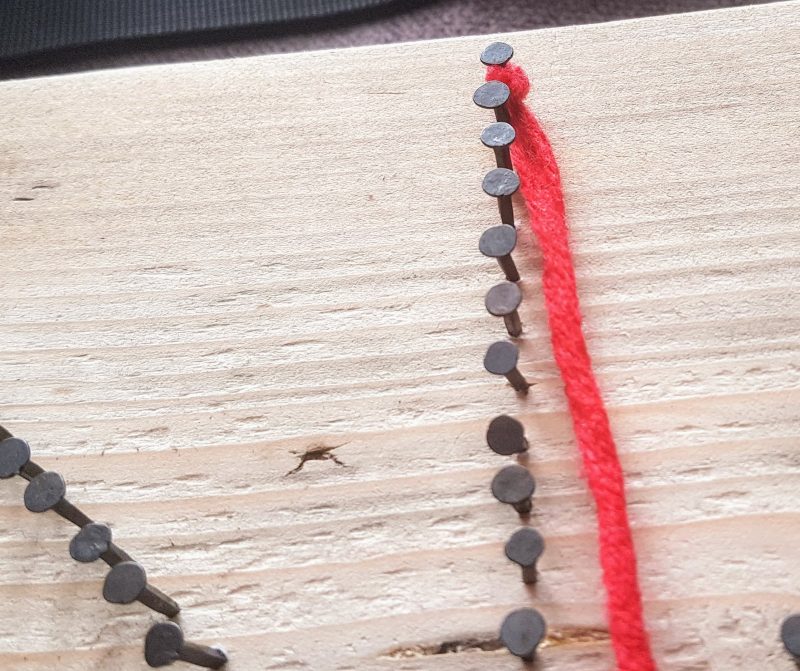
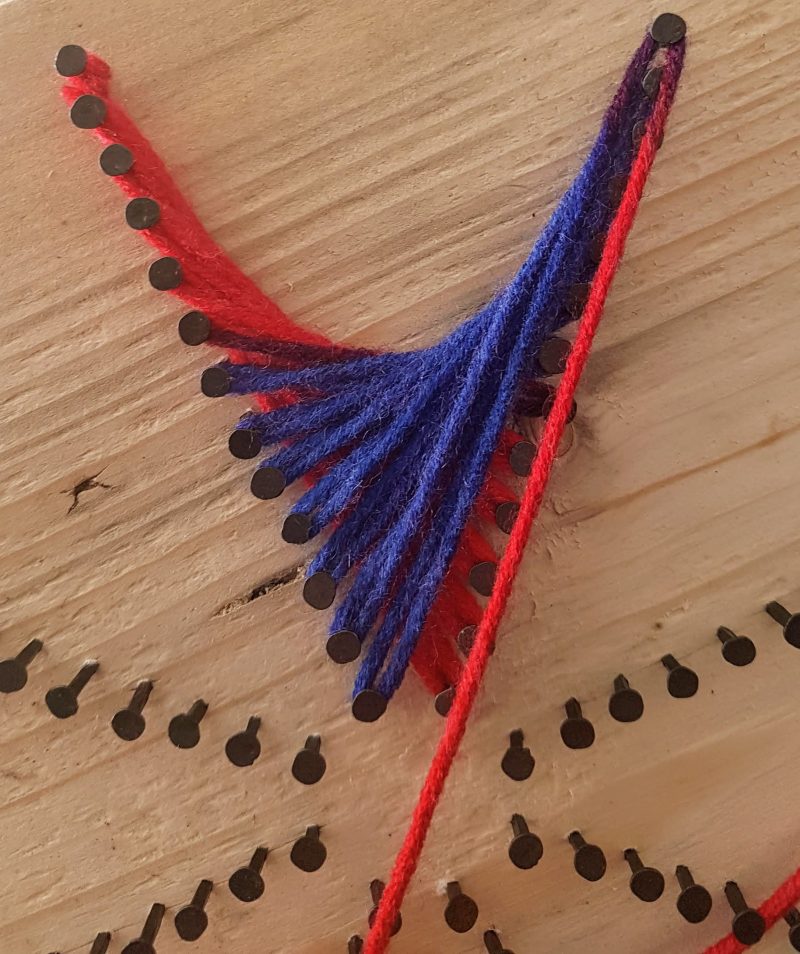
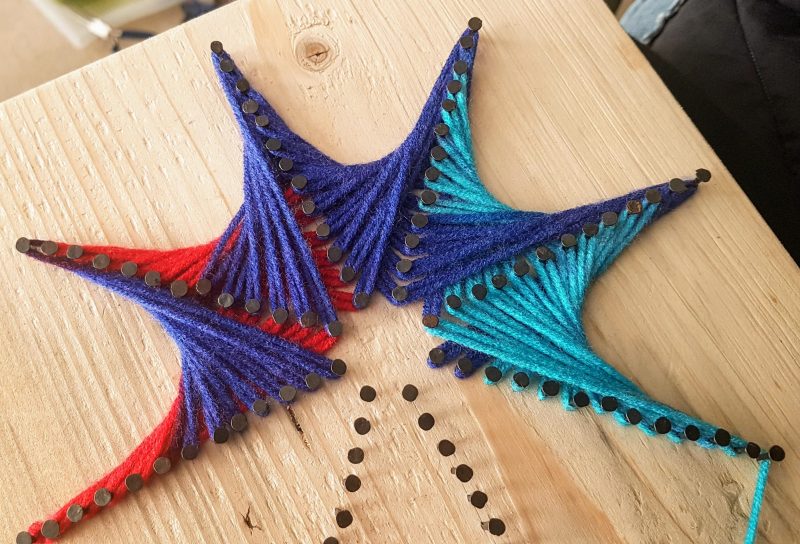
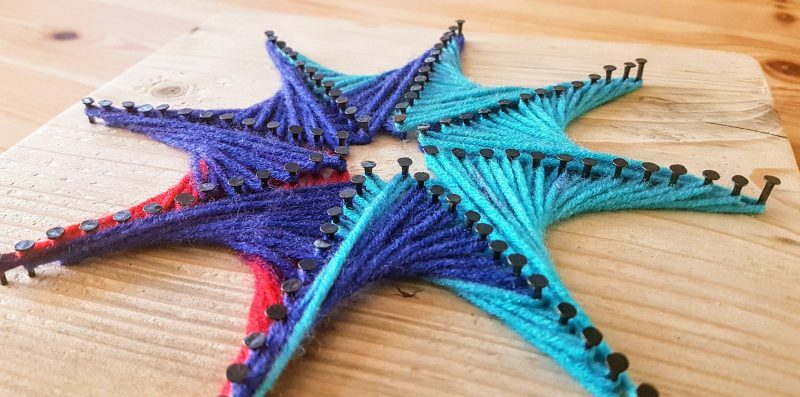
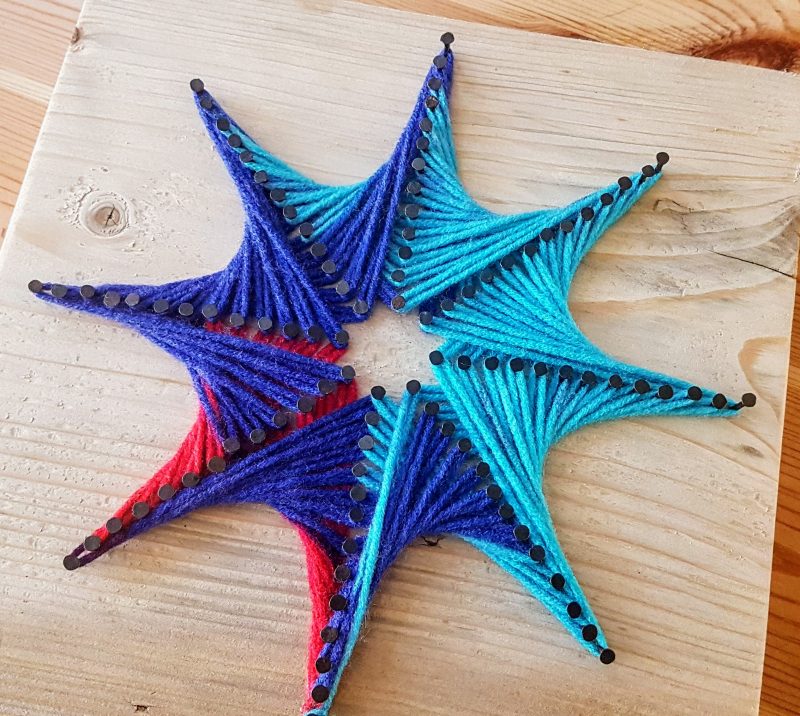
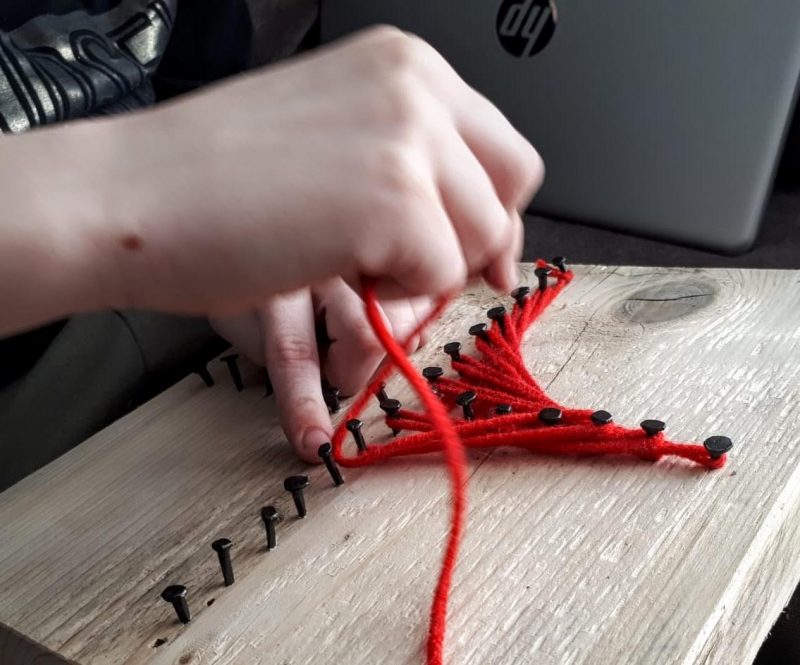
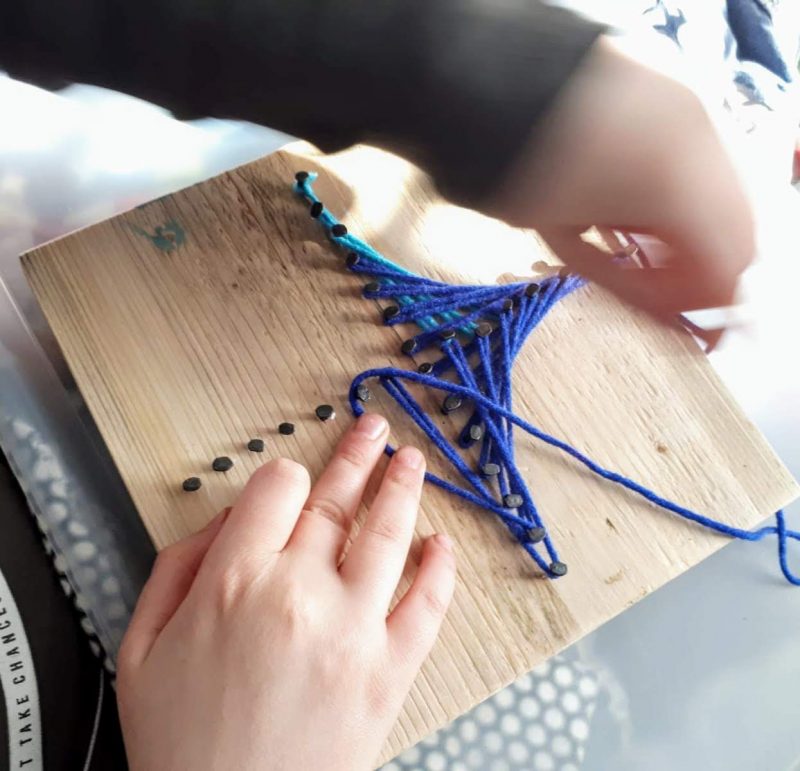
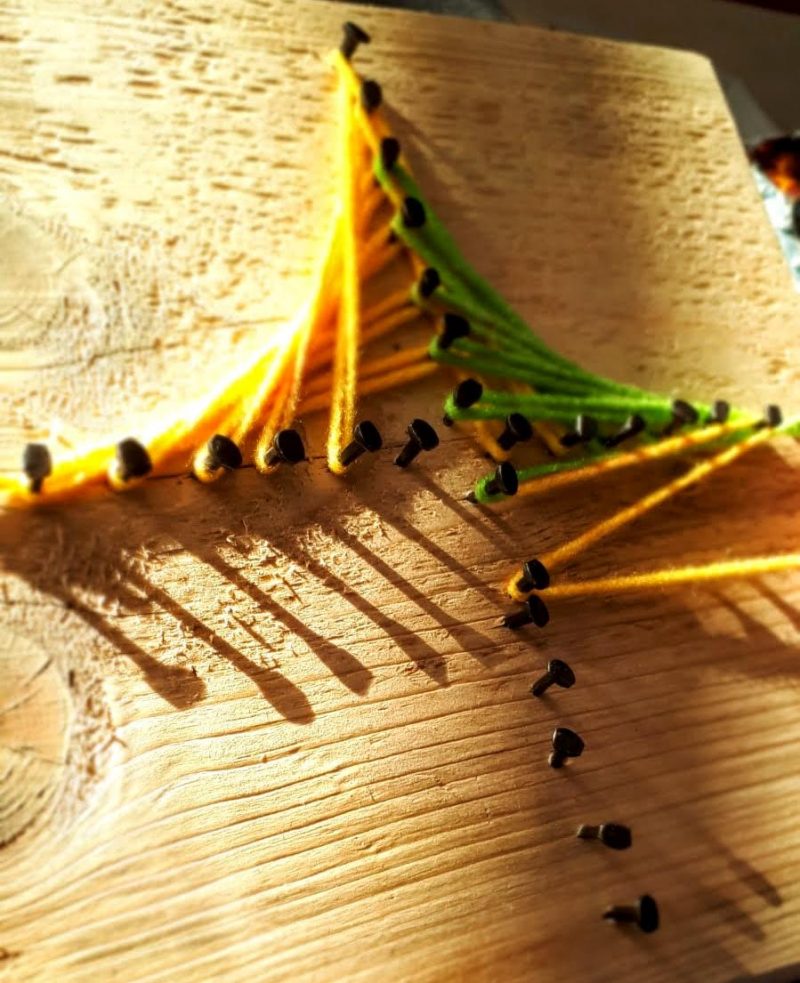
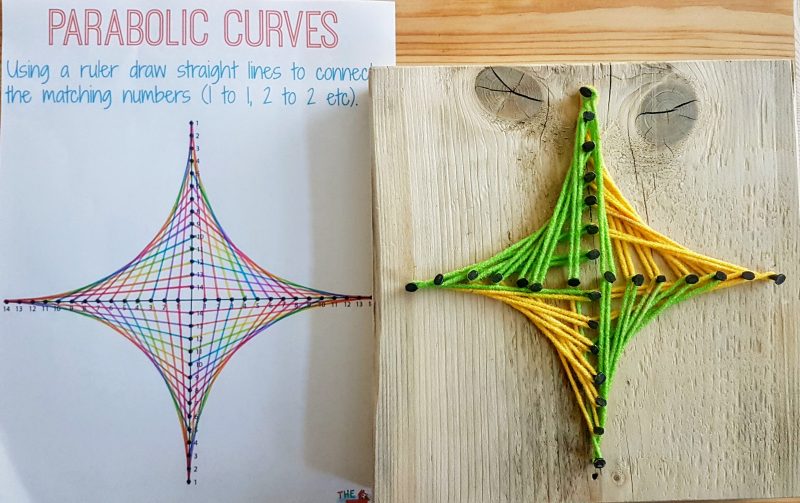
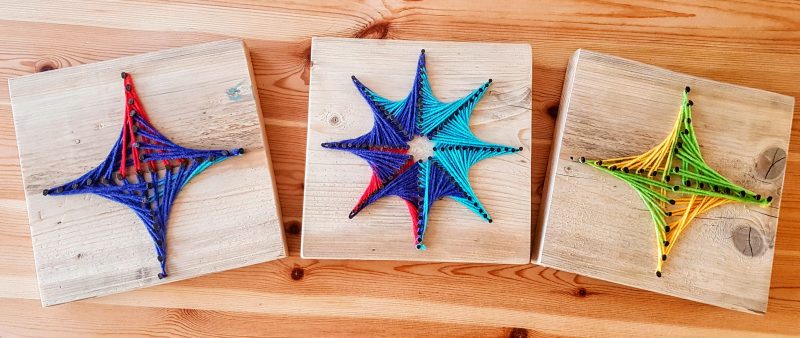
We looked into the definition of a PARABOLA so we could more fully understand the significance of what we had created…
DEFINITION: In mathematics, a parabola is a plane curve that is mirror-symmetrical and is approximately U-shaped.
We also used this website to help explain in a bit more detail. 🙂 (although we didn’t use all of the information as it was a bit too deep for younger kids)
So in easy terms, we created curves using straight lines – or in other words; a really simple optical illusion!
We really hope you give this one a try. It is a bit more work than some of my other ideas, but the outcome is definitely worth the effort.

